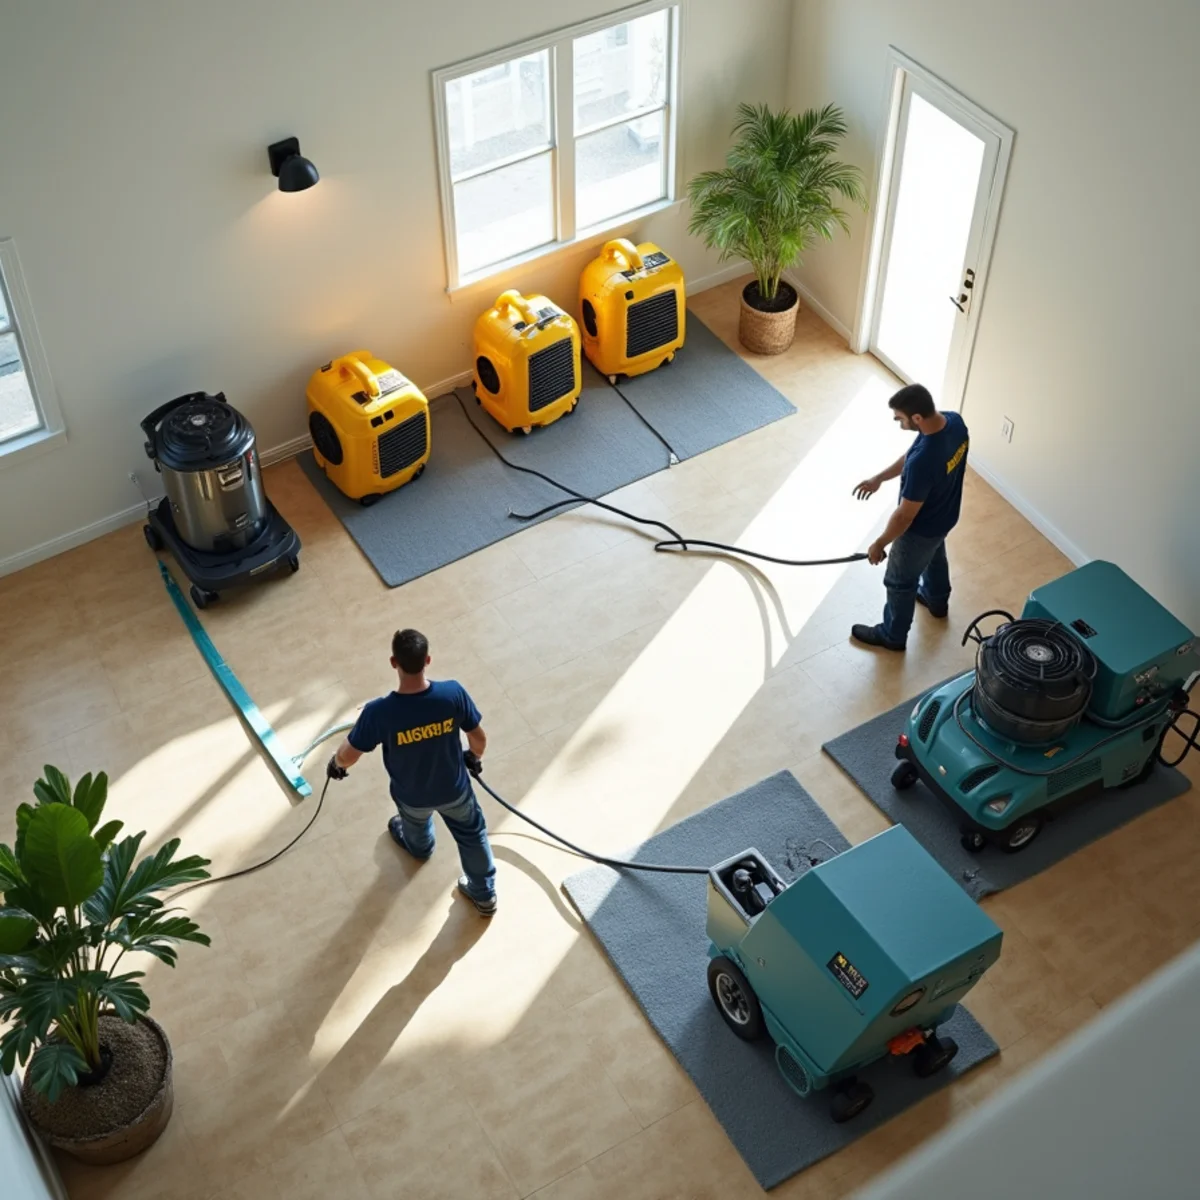
When you've never been through it, professional water damage restoration can feel like a mystery. Crews arrive, machines hum for days, and it's not always clear what's happening or why it takes as long as it does. Understanding the process turns that uncertainty into confidence, and it helps you know what a thorough job actually looks like.
Restoration isn't one task — it's a sequence, each step building on the last. Skip or rush any part, especially the drying, and problems like warping and mold show up weeks later. Do it in order and do it fully, and your home comes back to its pre-loss condition, structurally sound and dry to the core.
Here's the full path we follow, from the moment you call through the final repairs. It's the same sequence, grounded in the IICRC S500 standard, that we run for homeowners across Buena Park whether the loss is a small clean-water spill or a whole-floor emergency.
Step 1: Emergency Call and Rapid Response
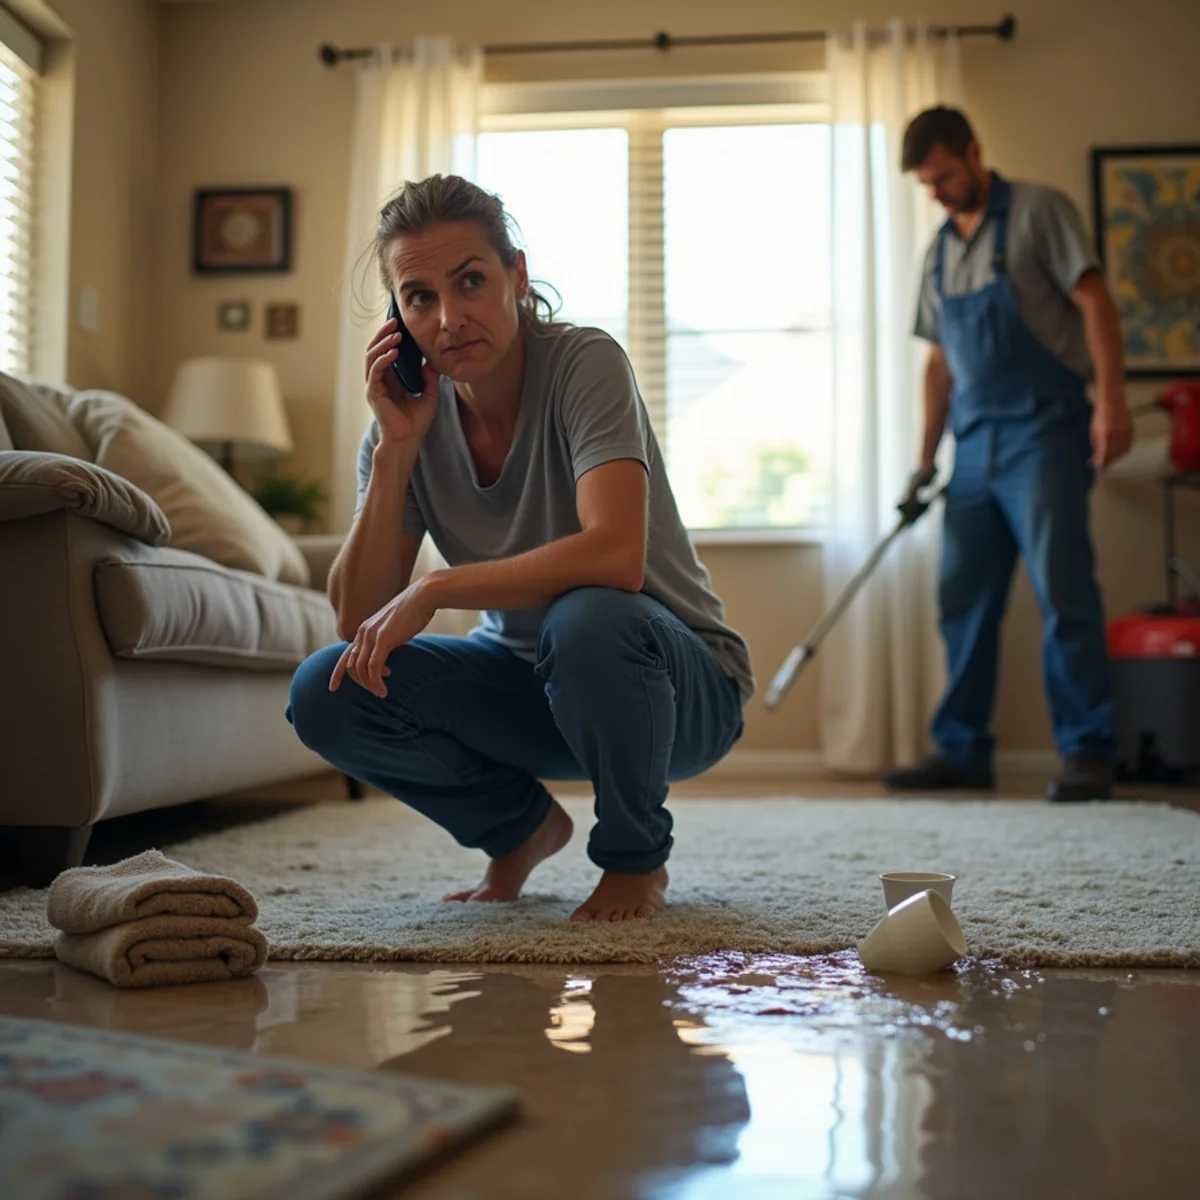
Everything starts with the clock. Water spreads by the minute, wicking into drywall and under flooring, so the first goal is simply to get a trained crew on-site fast. When you call our 24/7 line, we gather the essentials — where the water is coming from, how much, and whether it's safe — and dispatch toward a roughly 60-minute response target.
Speed here isn't about salesmanship; it's about limiting damage. Every hour water sits, more materials cross the line from salvageable to unsalvageable. Our emergency water damage response exists to shrink that window and stop a bad day from becoming a bad month.
Step 2: Inspection and Moisture Mapping
Before any equipment runs, we assess. A technician identifies the source, confirms it's stopped, and classifies the water — clean, gray, or black — because that determines everything that follows. Then we map the moisture, and this is where experience shows.
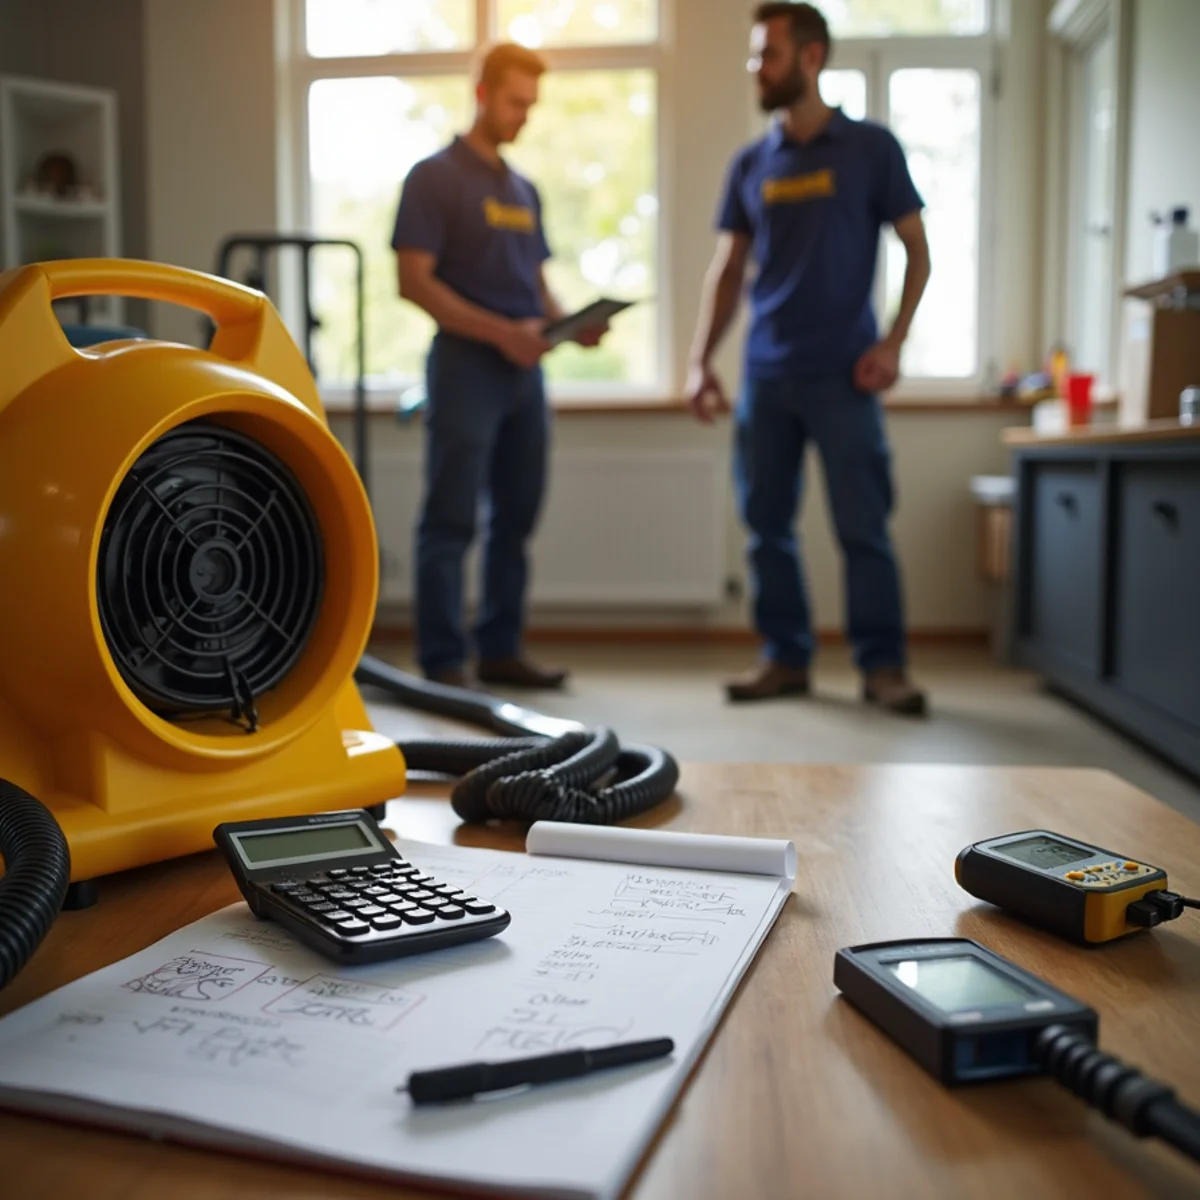
Water hides. It travels up walls and spreads under flooring into places that look and feel dry. Using thermal imaging cameras and moisture meters, we trace the water's full reach and mark the wet zones. This mapping is what prevents the classic mistake of drying only what you can see while moisture festers behind the wall. It also creates a baseline we measure against every day until the structure is dry.
Step 3: Water Extraction
With the map in hand, we remove standing water fast. Truck-mounted extractors and portable units pull out water at high volume, and for saturated carpet we use specialized extraction tools that draw moisture from the pad beneath. The more water we physically remove now, the less has to evaporate later — which shortens the entire drying phase.
For larger losses, dedicated water extraction is the step that changes the trajectory of the whole job. Getting the bulk of the water out quickly is the difference between saving flooring and replacing it, and it's a workhorse phase that rewards the right equipment and a fast start.
Step 4: Drying and Dehumidification
Extraction removes the water you can see; drying removes the water you can't. This is the phase that takes the most patience, and cutting it short is the most common cause of trouble down the road. Materials hold moisture deep inside, and it has to come out completely.
We create an engineered drying environment. Air movers push high-velocity air across wet surfaces to speed evaporation, while dehumidifiers pull that moisture out of the air so it doesn't simply resettle elsewhere. The right number and placement of machines is a science, not a guess — too few and the home never truly dries. Professional structural drying typically runs three to five days, sometimes longer for dense materials like hardwood or plaster, and the equipment stays until the readings confirm it's done.
Step 5: Daily Monitoring and Documentation
Drying isn't a set-it-and-forget-it process. We return each day to take moisture readings, compare them against the dry standard, and adjust equipment as materials release water. Some days a machine moves; some days one comes out. The point is that the decision to stop drying is driven by measured data, not by how long it's been or how a wall looks.
Every reading is logged. That daily record does double duty — it confirms to us that the structure is genuinely dry, and it gives your insurer clear proof that the work was done to standard. This documentation is a big part of why a properly run job supports a smooth claim.
Step 6: Cleaning, Sanitizing, and Odor Control
Once the structure is dry, we clean it. The level of cleaning scales with the water category: clean-water losses need basic cleaning, while gray and black water require thorough sanitizing and antimicrobial treatment to make the space safe again. Contaminated water leaves behind more than moisture.
Lingering odor is the last stubborn trace of a water loss, and it needs its own attention. Targeted odor removal treats the source of the smell rather than masking it, so your home doesn't carry a musty reminder after everything else is fixed. When we're done here, the space is dry, clean, and safe to rebuild.
Step 7: Repairs and Reconstruction
The final step puts your home back together. Restoration and mitigation up to now have been about stopping and drying the damage; reconstruction is about making it whole. This ranges from minor work — new baseboards, a patch of drywall, fresh paint — to larger rebuilds involving flooring, cabinetry, or entire rooms.
Because we handle both the drying and the rebuild, there's no gap where you're chasing separate contractors and re-explaining the loss. Our reconstruction services close the loop, returning the home to its pre-loss condition. We do this across North Orange County, from Buena Park to Stanton and Cypress, so one team owns the job from the first extraction to the last coat of paint.
Mitigation vs. Restoration: What's the Difference?
You'll hear both words, and they mark two halves of the same project. Mitigation is the urgent work of stopping the damage from getting worse — extraction, drying, removing unsalvageable materials. Restoration is the rebuilding that follows, returning the home to how it was.
The reason the sequence matters is simple: you can't rebuild over moisture. Skip the drying and you trap water inside new walls, which leads to mold and warping that undo the repairs. Following the IICRC S500 standard means finishing each phase completely before starting the next, and that discipline is what separates a lasting restoration from a cosmetic fix that fails.
Frequently Asked Questions
The drying phase alone typically runs three to five days, sometimes longer for dense materials like hardwood. Extraction happens on day one, and reconstruction afterward depends on the scope — a small repaint is quick, while rebuilding flooring or rooms takes longer. Every home is different, which is why we monitor with meters rather than a fixed timeline.
Because surfaces dry long before the material's core does. Water sits deep inside drywall, subfloors, and framing where you can't feel it. We keep drying until moisture meters confirm the material has reached the dry standard — stopping when the surface feels dry is exactly how mold and warping start.
Mitigation is the emergency work that stops further damage — extraction, drying, and removing unsalvageable materials. Restoration is the rebuilding that returns your home to its pre-loss condition. Mitigation comes first because you can't safely reconstruct over materials that are still wet.
You don't have to. We handle the full process, from emergency extraction and drying through the final reconstruction, so a single team owns the job start to finish. That continuity avoids the handoff gaps that slow projects down and keeps your documentation consistent for your insurer.
Dealing with water damage right now?
Water Damage Buena Park responds 24/7 across Buena Park & North OC.